Lighting, Angles, and Props: The Art of Cosmetic Product Photography
In the beauty industry, your product visuals determine how people judge the quality of your products and the results they can expect from them. For instance, the glow on a cleanser, the way a compact catches the light, the softness of a cream texture can tell customers how your product will make them feel before they even try it. So, when you hear cosmetic product photography, think beyond just lining up a few bottles and hoping they look pretty.
It also includes proper lighting, angles, and props. If you master them, you can make even the simplest product look luxurious and desirable. Thankfully, you no longer need a huge studio to pull this off.
With smart planning and modern tools like Pikes AI, it’s much easier and faster to create high-end, editorial-level visuals for your brand. That’s the power of AI product photography for your cosmetic brand.
Why Lighting, Angles & Props Matter for Cosmetic Brands
Cosmetic products are small, shiny, and often reflective. That means every photo needs to be created with the intention of properly relaying the products to your audience. For example, your lighting can affect how your serum will glow. And the angle is what separates a premium-looking jar from one that’s just flat. Finally, your choice of props is what sets the entire mood of your brand.
When you get these three right, you will be helping customers perceive the quality of your product, even long before they try it.
Let’s break this down a little more.
Lighting Defines Mood, Texture & Authenticity
Even when many of them aren’t conscious of it, lighting is the first thing your audience feels about your product. Soft light makes a cleanser look gentle and hydrating, while hard light helps create shadows that define sharp packaging edges. For beauty brands, lighting also reveals texture and shows the true color that customers expect.
Angles Reveal Form, Packaging Detail & Emotion
What actually determines how a product would look is the angle at which it’s shot. If you shoot at a straight-on angle, you can create clarity and trust. On the other hand, a slightly low angle can make a perfume bottle look expensive and powerful. Then, overhead angles are great for creating minimal and editorial shots.
So, when looking to give your product the best personality and help customers see its purpose even at a glance, you will need to get your angles right.
Props Create Context, Story & Brand Identity
Contrary to popular belief, props are not just decorations. They are soft clues that reveal who your product is for. When stones and greenery are used, it shows that your product is likely made of natural ingredients. And mirrors, towels, and water drops are a sign the product is meant for skincare rituals.
What this tells is that when you know how to use them, props can turn even a simple product into a full brand story.
Mastering Lighting Techniques for Beauty Products
When it comes to cosmetic product photography, you cannot joke with lighting. It is what decides whether you will have a luxurious or dull product in your hands. And one interesting thing about this is that beauty shoppers always notice every detail.
That said, here are some key lighting setups for cosmetic product photography:
Front Lighting
This is perfect for clean, honest product shots. It helps minimize harsh shadows and make labels very clear. This makes it an ideal option for product details or Amazon listings.
Side Lighting
When you’re looking to show texture, side lighting is the man for the job. It is perfect for products like creamy moisturizers, gels, or powders. This is because this lighting style adds depth and dimension, giving products a palpable feel you almost want to touch.
Backlighting (or Rim Lighting)
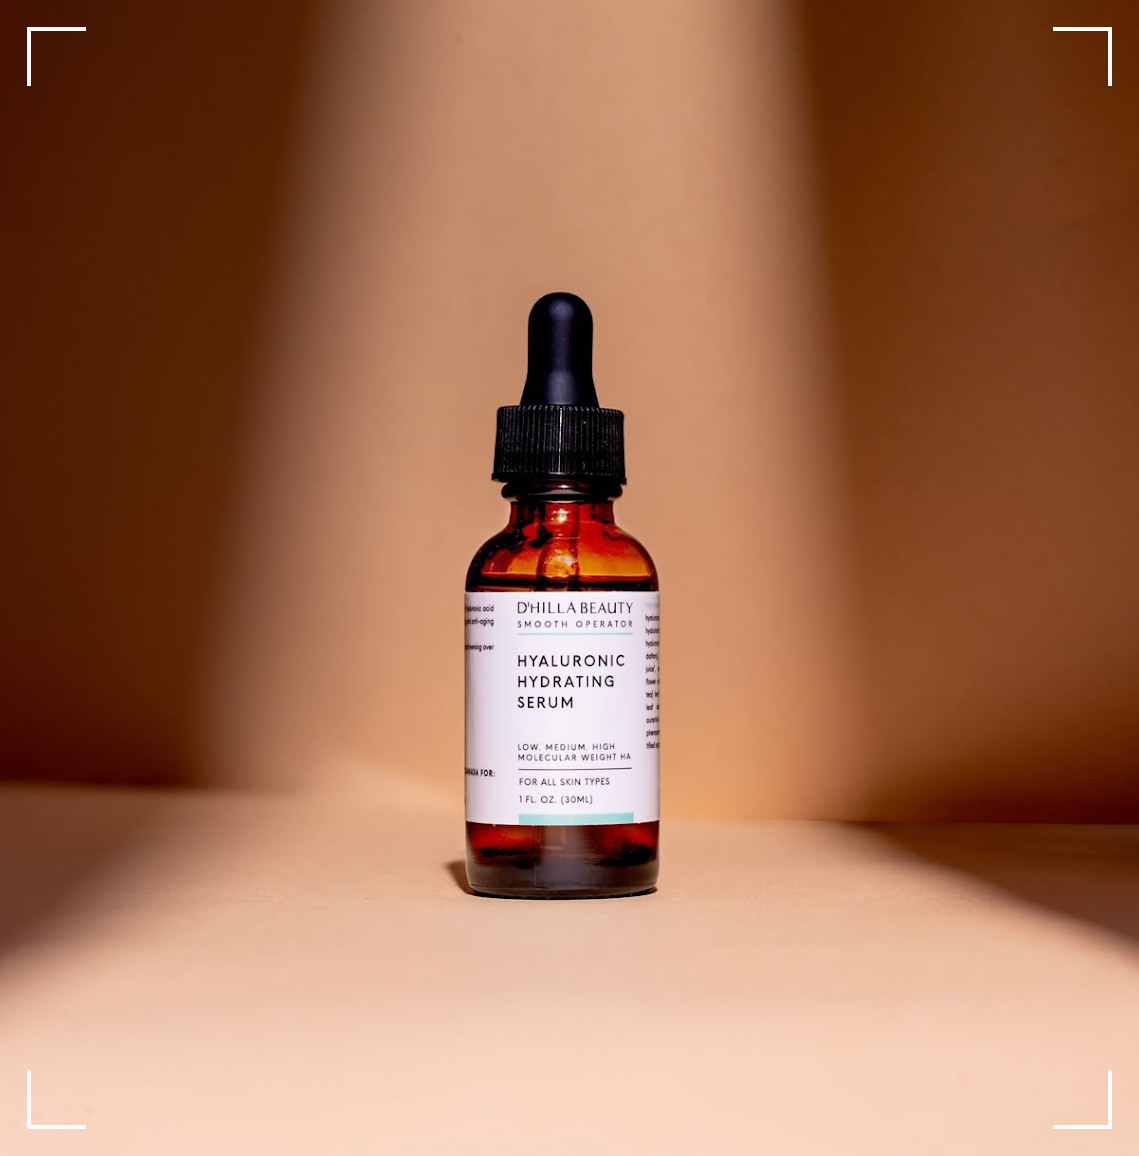
This is what you need for products with clear, glossy, or reflective packaging. It makes the product look premium and dramatic by creating a glowing edge around it. This is the style often used for skincare serums, hydrating mists, and glass bottles.
Diffused Natural Light
This is the most used style in the beauty industry. Soft daylight coming through a sheer curtain instantly gives products a fresh, gentle, skincare-routine vibe.
How AI Product Photography Changes the Lighting Game
If you are not sure which lighting setup will make your product pop? You have nothing to worry about; There are now modern tools that make the burden lighter for brand owners like you. One of them is Pikes. This tool is specifically designed to make life easier for e-commerce brands. Instead of setting up lights, testing angles, and dealing with reflections, Pikes lets you:
- Generate lighting styles instantly. Soft daylight, studio hard light, or glow effects, you name it, Pikes will make it happen
- Keep lighting consistent across your full product line. No reshoots needed.
- Remove unwanted reflections automatically.
- Preview multiple lighting moods without touching a single bulb.
For beauty brands juggling many SKUs and tight deadlines, Pikes gives you the freedom to explore lighting styles that you would have needed a full studio setup for.
Product Photography Angles – Exploring Angles that Sell Beauty Products
One of the easiest ways to change how a cosmetic product feels is to change the angle. Just a tilt can completely change the mood. So, if you’re looking to show off packaging, elevate texture, and help viewers spot the little details instantly, you will need to understand how to master angles.
Below are different angles and what each could mean to your shots:
Hero Front-On Shots for Clarity
This is the classic “shop-ready” angle. When you shoot your product facing front, it makes them feel straightforward and more trustworthy. Labels become readable and branding clearer. So, it makes it easy for shoppers to recognize what they are looking at immediately. These are the types of shots you would need for e-commerce listing, especially for platforms like Amazon.
Slight Low or High Angles for Emotion
A slight low angle makes your product feel powerful and elevated, making it a perfect option for premium fragrances, serums, or anything that claims high performance.
A slightly high angle, on the other hand, softens the look, making it great for moisturizers, cleansers, and products that emphasize care or comfort. These subtle shifts help connect the mood of the product to the buyer’s emotion.
Flat Lay and Overhead Angles for Editorial Feeds
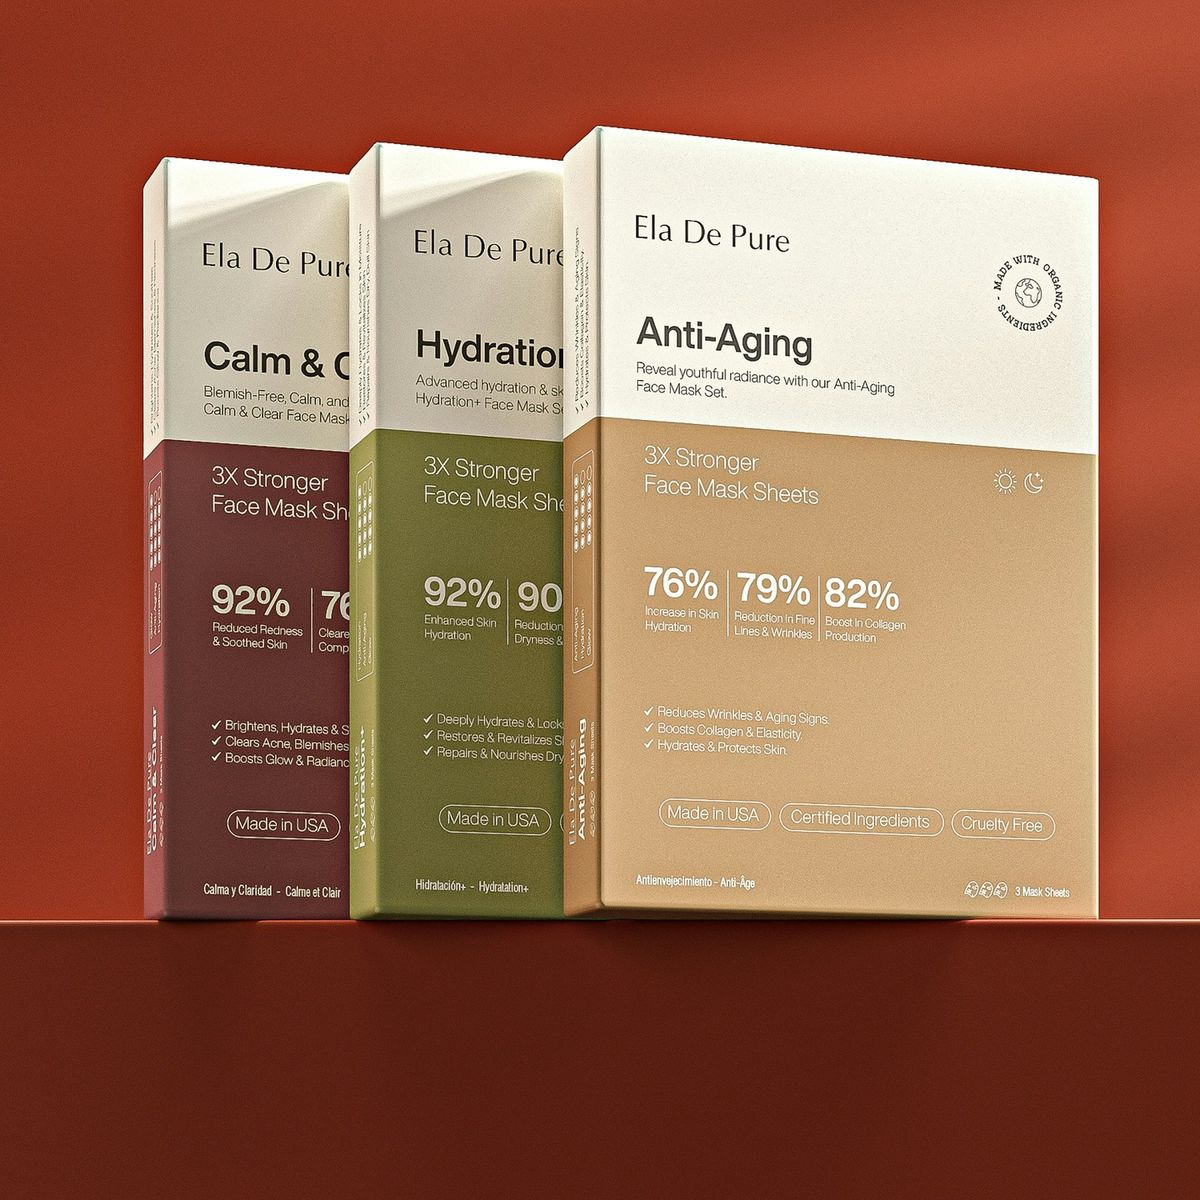
Instagram is a go-to platform for beauty brands to showcase and sell their products. Therefore, they often need flat lays as their favorite angle. Flat lays are clean, modern, and easy to style with props like brushes, petals, and towels. Overhead angles are also great for telling a full product story, as they group products into kits, routines, or morning/night sets.
Close-Ups & Macro Shots for Texture and Detail
Some beauty products have texture as their main selling point. Creamy balms, glossy serums, or shimmer pigments all fall under this category. So, shooting at macro angles helps shoppers see the luxurious details up close. This is especially powerful for high-end skincare and makeup lines, where customers often perceive a product’s quality by its texture.
AI Tools Can Also Help Here
Trying multiple angles manually is not only stressful; it can also eat up a bulk of your time. But with AI tools like Pikes, you can easily:
- Generate multiple angles from a single product upload
- Test dozens of perspectives instantly
- Keep label orientation and product details consistent from every angle
- Produce clean flat-lay, macro, and lifestyle angles without setting up props or lighting
Using Product Photography Props to Elevate Cosmetic Photography
Props are what move a cosmetic product photography to one that tells a story. They are not meant to just decorate the scene; they can also help give voice to your brand values, ingredients, and audience’s lifestyle. However, they have to be done right.
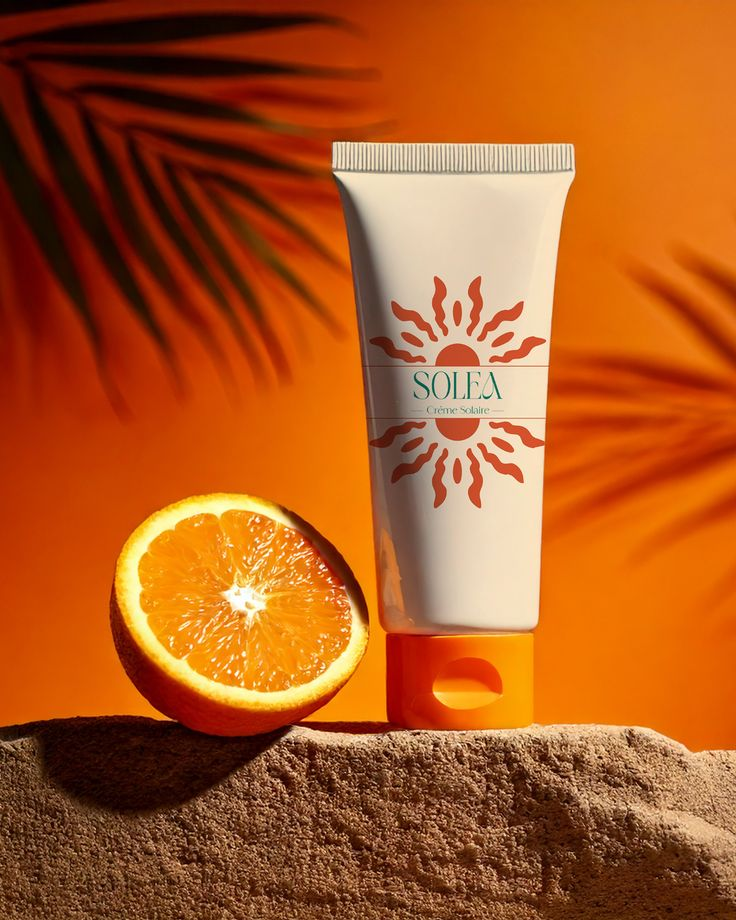
When choosing props, make sure they align with your brand story. A vitamin C serum paired with citrus slices immediately speaks about freshness and brightness. Similarly, a calming night cream placed next to soft towels or lavender buds communicates relaxation.
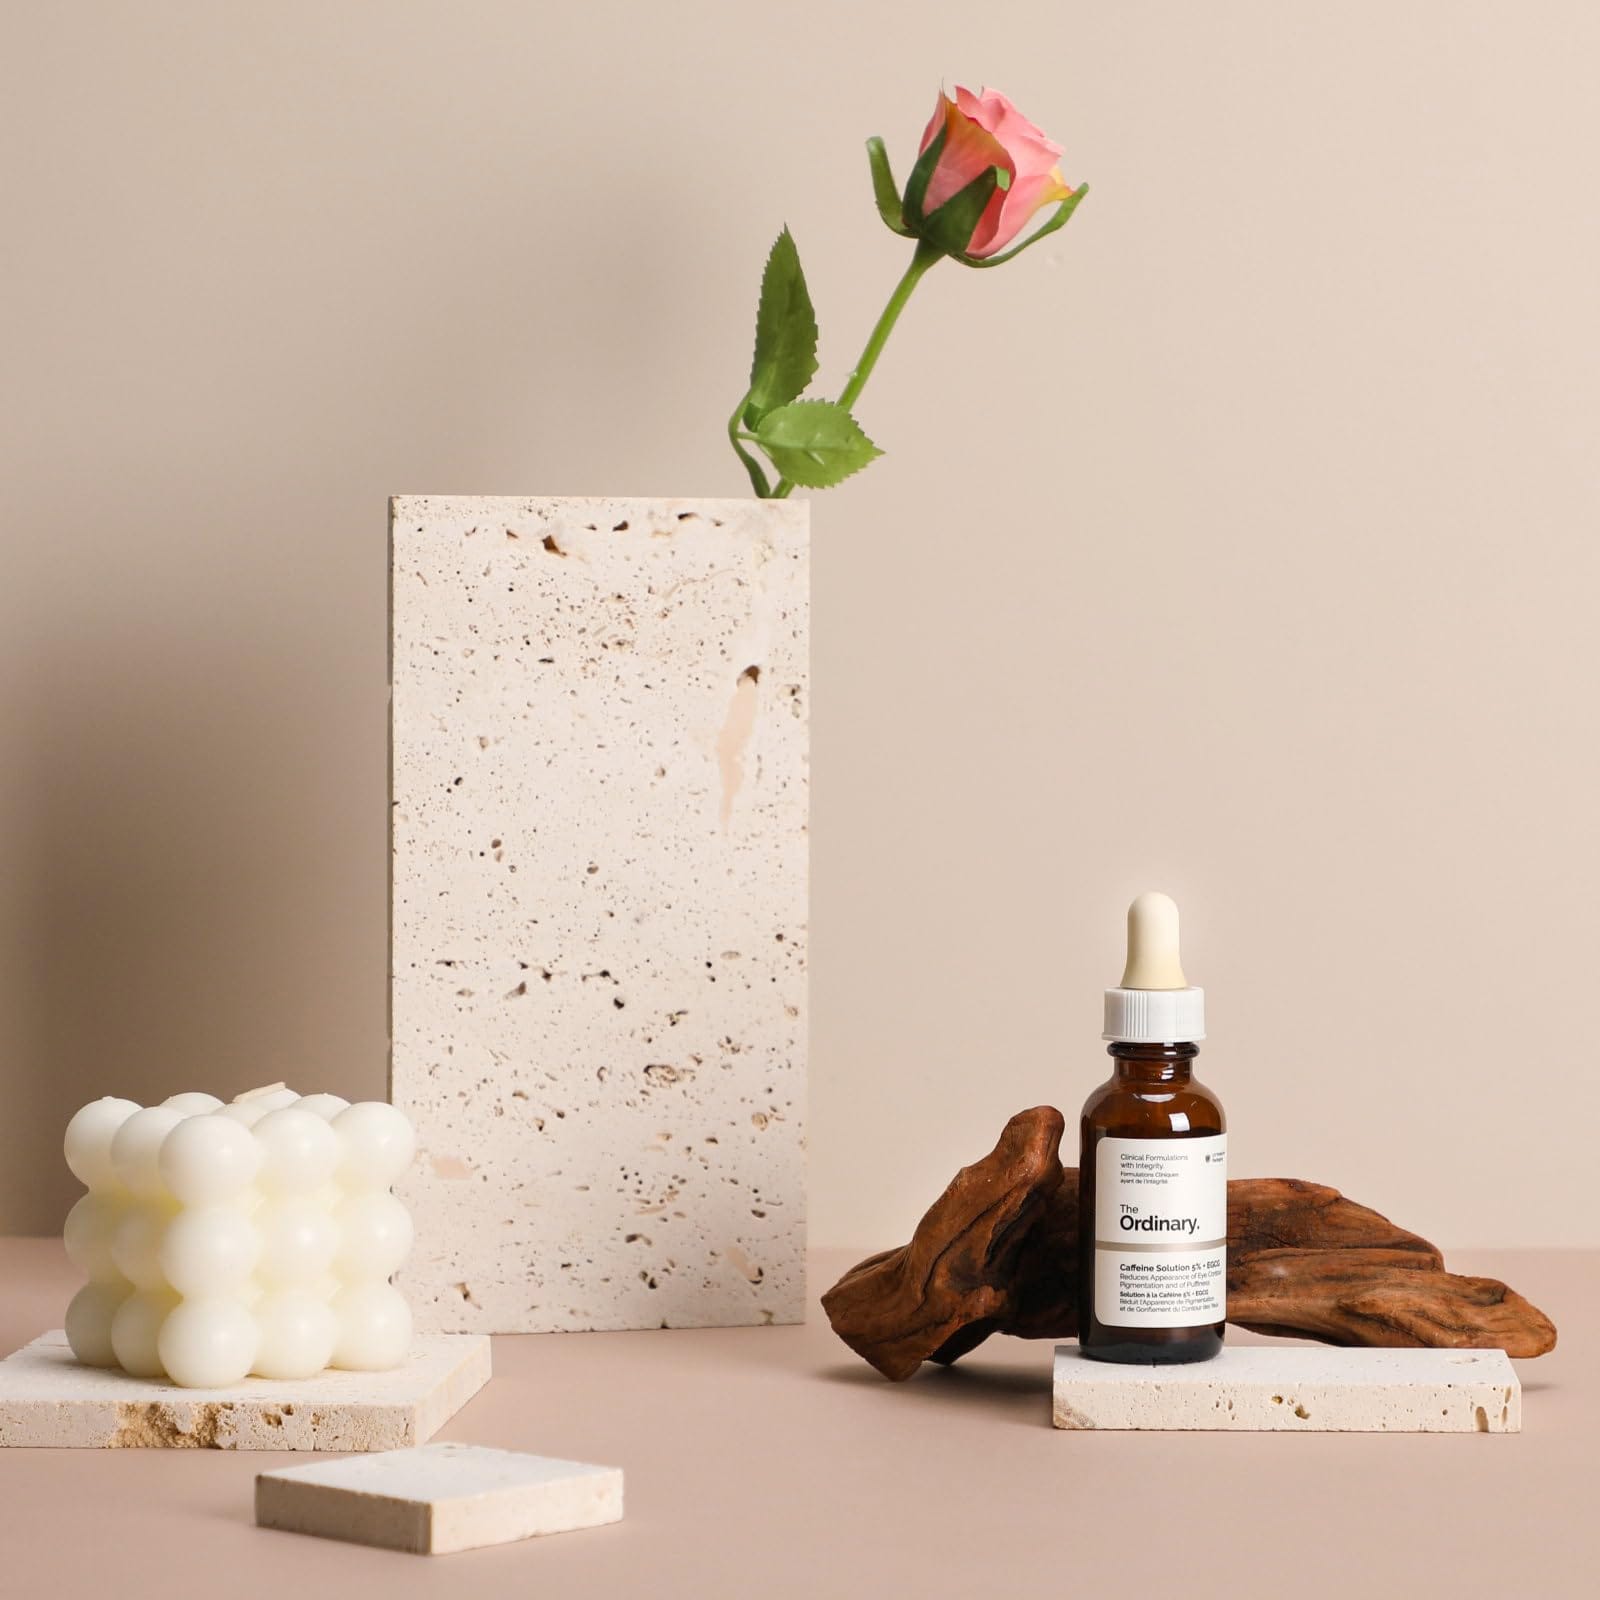
If you run a minimalist beauty brand, especially, you might want to keep your eye on props like clean stone slabs or glass trays to reflect purity. Remember that props are meant to help amplify your ingredients, formula, and mood. They are not there to distract from these essential points.
Here are some product photography props tips that might also help:
- Balance the frame: Place heavier props opposite the product to avoid visual clutter.
- Use space properly: Leaving areas blank gives your image breathing room and feels more expensive.
- Stick to a clear color palette: If your packaging is pastel, avoid bold props that compete with it. If it’s glossy black or metallic, subtle white or beige props help the product shine.
- Go for consistent materials: Mixing rustic wood with glossy acrylic, for example, creates visual confusion.
How Can AI Product Photography Help You Introduce Props Easily?
Traditionally, prop styling requires buying materials, setting up backdrops, and endlessly rearranging until something clicks. With Gen AI tools like Pikes, brands can:
- Generate scenes with realistic props in seconds
- Explore dozens of styling ideas without spending on materials
- Keep textures and shadows consistent across a full campaign
- Apply brand-specific props once and reuse them with custom style models
This means you can test marble, fabrics, botanicals, glass, shadows—anything—without ever stepping into a studio.
Final Note
Great cosmetic product photography is not about having the biggest studio. It is more about knowing how to rightly use lighting, angles, and props to create stunning visuals for your products. When you get these right, you can make your beauty or skincare line instantly feel premium, desirable, and trustworthy.
And with modern tools like Pikes, you can explore perfect lighting, creative setups, and consistent angles without having to go through the stress of shoots.
FAQs
How to photograph cosmetic products professionally?
Product photography lighting is one thing you just cannot neglect. So, start with clear, intentional lighting. You can use soft daylight or diffused artificial light to avoid harsh reflections, especially if your product comes with glossy packaging.
Now choose the best angles for the product – ones that highlight its shape and label. Add props, but make sure they match your brand’s tone. And if you would like to explore variety without a full studio setup, AI product photography is your friend.
What are the best lighting setups for beauty products?
For most skincare and makeup products, soft diffused light is usually a favorite. That’s because it has a way of highlighting texture without creating harsh glare. For creamy or gel textures, you will want to go for side lighting, and for premium glow, you should include backlighting. There are different lighting techniques for product photos, and knowing which is best for your product matters.
How to use props in cosmetic product photography?
The most important thing is to always go for props that match your product’s story. That’s product photography props basics. However, ensure you keep them simple and intentional. Remember, the goal is to use them to enhance your image, not overwhelm it.
What angles make beauty products look more appealing?
It all depends on your product and the type of mood you’re trying to portray. Front-facing shots are known for giving clarity, while slightly low angles create a premium feel. Just go through the angles we’ve explained earlier and see a way you can mix things up across your ads and website.
What’s the easiest way to create a skincare photography setup at home?
Use natural window light, a white reflector (even a sheet of paper works), and a clean background. Keep props simple and stick to one color palette. If space or equipment is limited, Pikes can generate fully styled skincare setups with just a single product upload.